
Last updated October 16, 2026
Free on-site gate assessment - hinges, posts, and your LiftMaster or Nice gate operator checked before anything is quoted
The assessment is free and the quote is the invoice.
Get your free estimateGate Repair Maintenance Checklist for San Diego Homeowners
Every October, our phone rings with the same call from homeowners across San Diego: “The gate just stopped working.” They’re standing in the driveway, remote in hand, watching a motor that won’t turn. In most of those cases, the failure didn’t happen that morning. It started months earlier, during the marine layer season, when salt-heavy moisture settled into hinge pins, chain links, and control board connections. A 15-minute inspection in June would have caught most of those problems for under $40 in parts. This guide is the checklist we wish every San Diego homeowner had taped to the inside of their garage door, and for Gate Repair Warning Signs: A San Diego Homeowner’s Reference Guide, see our companion resource. You’ll learn what to check each month, how the coastal climate attacks your specific gate hardware, which lubricants actually protect metal in salt air, and how to document your gate’s condition so any repair guarantee can be honored without a debate.
Styles & brands we work with
- Wrought iron
- Wood & steel frame
- Farm & ranch
- Sliding driveway gates
- LiftMaster operators
Quick Answer
A San Diego gate maintenance checklist should follow the marine layer calendar: visual inspection every month, lubrication every 60 to 90 days with a marine-grade lubricant (never standard WD-40 on exposed chain), hinge-stress and gap measurement every May and November, and a dated photo log of the control board, welds, and operator arm after every maintenance session. The jobs homeowners skip in May are the exact ones that cause gate motor failures in October.
Table of Contents
- Why San Diego Weather Is Harder on Gates Than Most Homeowners Realize
- The Month-by-Month San Diego Gate Maintenance Calendar
- The Hinge-Stress Inspection: A Level, a Flashlight, and 15 Minutes
- Lubrication in Salt Air: What to Use, What to Avoid, and Why WD-40 Is a Problem
- Control Board and Wiring Inspection: What a Homeowner Can Check Safely
- Documenting Gate Condition: The Dated Photo Log That Protects Your Guarantee
- Common Mistakes to Avoid
- When to Call a Professional
- Frequently Asked Questions
- The Bottom Line
Why San Diego Weather Is Harder on Gates Than Most Homeowners Realize
San Diego’s climate gets marketed as mild and easy on everything it touches. For a gate, that’s only half true. What actually damages gate hardware here isn’t extreme heat or freezing cold. It’s the marine layer. From May through August, neighborhoods within about eight miles of the coast, places like La Jolla, Point Loma, Pacific Beach, and Clairemont, wake up to a damp, salt-laden fog that clings to metal surfaces for hours before burning off. That moisture settles into every unsealed hinge pin, every chain link, every exposed bolt thread, and every control board terminal. Then it dries. Then it settles again the next morning. The result is a slow, consistent corrosion cycle that most inland gate maintenance guides never address.
The salt content matters even more than the moisture. Standard atmospheric moisture causes oxidation, but salt water accelerates galvanic corrosion, especially where two different metals touch, which is exactly how most gate hardware is built: steel hinges on aluminum frames, zinc-plated bolts in stainless brackets, copper wiring into brass terminals. Those junctions corrode faster in coastal San Diego than they do in Phoenix or Las Vegas, even though those cities get hotter. We’ve replaced hinge pins in La Jolla that looked fine from the outside but had pitted to half their original diameter inside the barrel, where salt fog had condensed and sat for months.
Inland San Diego neighborhoods have a different but related problem: dust. East County areas like El Cajon, Santee, Lakeside, and Poway get hot, dry air and fine dust that works its way into operator gears and chain links, mixing with grease to form an abrasive paste. That paste grinds down drive gears and stretches chains. A gate operator that last 12 years in Coronado might last 8 in El Cajon if the chain is never cleaned and re-lubricated. Neither climate is “mild” for a moving steel assembly exposed to the air year-round. The maintenance calendar below accounts for both.
The Month-by-Month San Diego Gate Maintenance Calendar
Generic gate checklists say things like “lubricate in spring” and “inspect before winter.” San Diego doesn’t have a winter that threatens gates. What it has is a fog season that attacks metal, a dry season that grinds dust into moving parts, and a Santa Ana season where hot wind strips lubrication faster than any other time of year. Here is a month-by-month calendar built for our actual weather patterns, not a national average.
January: Sand and Debris Clearing
After December storms, gate tracks (for slide gates) and swing-gate pivot areas collect leaves, sand, and small rocks. Sand acts as an abrasive on rolling wheels and track surfaces. Use a leaf blower or stiff brush to clear both sides of the track. Check the gate’s limit switches, the small sensors that tell the motor where to stop. Sand caked on a limit switch housing can cause the gate to stop a few inches short or overrun the stop point.
February: Rain and Drainage Check
San Diego’s rainy season peaks in February. Walk the perimeter of the gate pad. Standing water near the operator post or control box is a serious issue. Check the weep holes at the bottom of the operator housing (if present) to confirm they’re clear. A control box that sits in standing water even once can corrode terminals and cause intermittent failures months later. If water pools near the gate, regrade the soil or install a channel drain. This is a problem we see constantly in low-lying areas of Mission Valley and Chula Vista.
March: Belt and Chain Tension Review
As temperatures warm, metal expands. A chain that was properly tensioned in December may be slightly loose by March. For chain-drive operators, press down on the chain mid-span with one finger. You’re looking for about 1/4 to 1/2 inch of deflection. More than that and the chain can skip on the drive sprocket, which causes jerky movement and eventual operator failure. Less tension than that and you’re putting constant strain on the gearbox bearings. Belt-drive systems need a similar check: look for cracking or glazing on the belt surface.
April: Control Board Visual Sweep
Before the marine layer settles in for the summer, open the control box and take a dated photo of the board and wiring. Look for any white or green powdery residue on terminals (early corrosion), any discoloration on the board surface (heat damage), and any signs of insects, which love the warmth of a control box. Re-seat any obviously loose terminal connections with the power fully disconnected at the breaker. Tighten any loose screws. Close the box and confirm the gasket is sealing properly.
May: The Critical Marine Layer Prep
This is the month that determines whether your gate survives the summer. The marine layer typically settles in over San Diego’s coastal neighborhoods by mid-to-late May. Before it does, apply a marine-grade corrosion inhibitor to exposed hinges, chain, and actuator arms. Check and tighten all hinge bolts. Confirm the weather seal on the control box is intact. This single session, done properly, prevents the majority of the October motor failures we see every year that lead homeowners to call our Gate Repair services.
June: Hinge-Stress Measurement
Perform the full hinge-stress inspection described in the next section. The marine layer is now here in force, and salt moisture is working on every metal junction. Measure gate sag. Level the gate. Note any gap changes from November’s baseline measurement.
July: Operator Arm and Actuator Check
The actuator, the motorized arm that physically pushes a swing gate open, works hardest during summer months when the gate is used more frequently. Listen for any change in the motor’s sound. A smooth hum is normal. A grinding or clicking sound means a gear or bushing is failing. Touch the actuator housing after a full open-close cycle: warm to the touch is fine; hot to the touch is a sign of overwork, often caused by hinge binding.
August: Fastener Torque Sweep
Thermal cycling, especially the hot afternoons of August, cause metal to expand and contract daily. That slowly loosens bolts. Go around the gate frame, hinges, actuator mount, and operator post with a socket set and confirm every accessible bolt is snug. Not over-tightened, just snug. This includes the bolts holding the operator arm to the gate and the post mounting plate to the concrete.
September: Post-Summer Assessment
The summer heat and marine layer are both fading. Do a full walk-around. Check for rust bloom, especially on weld seams and bolt heads. Check the gate’s auto-reverse function: place a small object (a traffic cone or two-by-four) in the gate’s path and confirm the gate reverses before making contact. If the auto-reverse fails, stop using the gate in automatic mode immediately. That is a safety issue, not a convenience issue.
October: The Failure Month
October is when the accumulated damage of the marine layer season shows up. Our October call volume in San Diego is consistently the highest of the year. The typical story: gate worked fine all summer, then in October the motor hums but the gate doesn’t move, or the operator trips its breaker. What actually happened: salt corrosion on a terminal or hinge binding from degraded lubrication finally crossed a threshold. If you’ve done the May through August checks, October is quiet. If you haven’t, this is when you’ll know.
November: Baseline Measurements
Use this month to establish your winter baseline. Measure the gap between the gate and the post at the latch side. Measure the gap at the hinge side. Record both numbers in a note or spreadsheet. Take a photo of each hinge from 12 inches away. These November baselines are what you’ll compare against the following June. A gate that has sagged even 1/4 inch in six months is one that will begin binding soon.
December: Cable and Connection Check
The shorter days mean more gate cycles in the dark, which means more reliance on the gate’s safety photo-eyes and the operator’s internal limit switches. Check that photo-eye lenses are clean and properly aligned. Check all low-voltage wire connections for tightness and corrosion. A loose connection in December often becomes a full failure in January when the rain starts.
The Hinge-Stress Inspection: A Level, a Flashlight, and 15 Minutes
Hinge failure is the slowest-moving and most predictable failure mode on a swing gate. A hinge doesn’t typically snap all at once. It wears, sags, binds, and then transfers that binding load to the operator motor, which fails from overwork. The hinge-stress inspection finds the problem before the motor pays for it.
What you need: a 24-inch or 48-inch level, a flashlight, a tape measure, and something to write with. What you’re looking for: asymmetry. A healthy gate has even gaps, level rails, and hinges that the gate rotates on without vertical movement.
Here’s the step-by-step:
- Check the level. Place the level on the top rail of the gate. If the bubble is even slightly off-center at the latch end when the gate is closed, the gate has already begun to sag. Repeat at the bottom rail. A gate can be level on top and still sagging at the bottom rail if the frame is racking.
- Measure the latch-side gap. Close the gate and measure the gap between the latch edge of the gate and the post. Record the number. This gap should be consistent from top to bottom. If it’s 1/2 inch at the top and 1/4 inch at the bottom, the gate frame is twisting and the bottom hinge is taking more than its share of the load.
- Check the hinge-side gap. Now measure the gap between the hinge edge of the gate and the post. A difference of more than 1/8 inch from your November baseline is your early warning. On a gate in good condition, this gap is uniform.
- Flashlight the hinge pins. Shine the flashlight into the gap between the hinge leaf and the hinge barrel. Look for rust-colored dust, which is the telltale sign of internal wear. A hinge that’s wearing from the inside will shed fine rust particles that collect on the hinge leaf below it.
- Lift test. With the gate closed and latched (or restrained by a helper), lift upward on the latch end. A properly hung gate should have essentially zero vertical play. If you get 1/16 of an inch or more of upward movement, the hinge pins or bushings are worn. That vertical slop translates directly into load on the operator motor.
- Listen for clunking. Open the gate fully by hand (disengage the operator first by pulling the manual release) and listen. A healthy hinge rotates silently. A worn hinge clunks as the load shifts between the hinge leaves.
The reason we say “gap measurement signals imminent failure” is straightforward: as a hinge wears, the gate sags, the gaps change, and the sagging puts the operator arm in a bind. The operator keeps working, but it’s working against increasing resistance. The motor draws more current, runs hotter, and eventually quits. The hinge didn’t fail. The motor did. But the hinge killed it. For a more detailed walkthrough of what a failing hinge looks like, see our Gate Repair in San Diego page.
Lubrication in Salt Air: What to Use, What to Avoid, and Why WD-40 Is a Problem
The marine layer presents a unique problem for gate lubrication: standard aerosol lubricants like WD-40 are too light for the job. They’re designed as water displacers and penetrating oils. They evaporate in days. Once they’re gone, the metal surface is bare, and in a salt-moisture environment, bare metal corrodes faster than metal with a proper protective film. We’ve seen chain drives in coastal San Diego that were regularly “lubricated” with WD-40 and actually corroded worse than chains that were left alone. The solvent in the spray strips away whatever grease was there, then leaves nothing behind but a thin film that lasts about a week.
For San Diego’s coastal environment, use a marine-grade lithium grease or a synthetic chain lube labeled for marine use. These products are formulated to displace salt water and leave a heavy protective film that lasts 60 to 90 days. For hinge pins, a spray white lithium grease works well because it penetrates into the pin area and then thickens. For chain drives, use a chain-specific lubricant that resists slinging off, something with a heavier body than spray grease.
The timing matters as much as the product. Lubricate in May, before the marine layer settles in, and again in August, when the summer fog is at its peak. For inland San Diego, where dust is the bigger problem, lubricate every 90 days but use a thinner application and wipe away excess after 24 hours, because excess lubricant attracts and holds dust.
One more San Diego-specific note: driveways near the beach in areas like Carlsbad, Encinitas, and Solana Beach get direct salt spray from prevailing onshore winds, not just fog. If your gate is within a mile of the surf, double the lubrication frequency and check exposed fasteners for rust every 60 days. That salt spray is relentless.
Control Board and Wiring Inspection: What a Homeowner Can Check Safely
Control board failures are the most common reason a gate operator won’t respond, and many of them start with visible problems a homeowner can identify without touching anything live. The key safety rule: never open the control box and touch anything while the power is on. Always shut off the breaker to the gate operator first, confirm the operator has no power by pressing the remote, and only then open the box.
Here’s what to look for:
- Corrosion on terminals. Look for green, white, or blue powdery residue on any wire terminal or screw connection. That’s corrosion. It’s the single most common cause of intermittent gate operation in coastal San Diego. If you see it, note which terminals are affected, take a photo, and show it to a repair tech.
- Burnt or discolored spots on the board. A brown or black spot on the circuit board, especially near the big relays or transformer, means heat damage. This is not a “keep an eye on it” item. A board with visible burn marks is on borrowed time.
- Loose wire connections. With the power off, gently tug on each wire connector. A wire that pulls out of its terminal with minimal force was making poor contact. Tighten the terminal screw or re-seat the spade connector. This alone fixes a surprising number of “the gate works sometimes” problems.
- Insect or rodent activity. Ants, spiders, and occasionally rodents find their way into control boxes. Spider webs across terminal blocks create short circuits in humid conditions. Clean them out with a dry brush while the power is off.
- Weather seal condition. The rubber gasket around the control box lid is what keeps fog and rain out. If it’s flattened, cracked, or missing sections, replace it. A control box that doesn’t seal properly in a coastal neighborhood is slowly being rusted from the inside.
After the inspection, close the box, re-energize the breaker, and run the gate through a full cycle. If the gate operates normally, your control board is healthy. If anything changed, you now have a dated photographic record of what you found. That leads directly to the next section.
Documenting Gate Condition: The Dated Photo Log That Protects Your Guarantee
Here’s a scenario we see all too often: a homeowner calls us with a gate problem. We diagnose it. They tell us the gate was repaired by another company 14 months ago. We ask if they have any photos of the gate from that time. They don’t. Now it’s their word against a closed file, and the old company is claiming the new problem is unrelated to the old repair. Whether that’s true or not depends on evidence, and without photos, there’s no evidence.
A dated photo log changes that. It’s the single most useful thing a homeowner can do to protect a repair guarantee, and it takes 10 minutes every three months.
Here’s the method:
- Shoot the same four angles every time. A photo of the control board with the cover open. A close-up of each hinge. A photo of the operator arm and mounting plate. A full-gate photo from the driveway. Same angles, same distance, same framing, every time.
- Include a date marker in the photo. Write the date on a small dry-erase board and hold it in frame. Phone metadata gets stripped or lost. A visible date in the photo itself is irrefutable.
- File the photos somewhere you won’t lose them. A specific album in your phone’s photo app, a folder in Google Drive, or a note in a home maintenance app. The platform doesn’t matter; the consistency does.
- Compare each set to the previous set. If a hinge was clean in November and showing surface rust in April, you now know the seal is failing. If a weld was solid in January and shows a hairline crack in July, you caught it before the gate fell. If the gap on the latch side has changed by 1/8 inch, you have a documented sag trend.
This log also makes any service call more efficient. When we come out for Electric Gate Repair in San Diego, a homeowner who can show us photos from three months ago gives us an immediate baseline. We can see what changed. We can see how fast it changed. And if the work falls under a guarantee, the dated photos settle the matter.
This is especially important for any repair done by a Kingswell company. Every Kingswell repair, including ours, carries a 365-Day Done Right Promise. If the repair fails within that year, we come back and fix it at no charge. Photos documenting the condition at the time of repair, and at regular intervals after, make that promise simple to honor. The Portcullis Gate Repair San Diego home page explains the full Kingswell Guarantee and what it covers.
Common Mistakes to Avoid
- Using WD-40 on exposed chain or hinges. The solvent strips existing grease, then evaporates in days, leaving bare metal that corrodes faster in San Diego’s salt fog. Use marine-grade lithium or synthetic chain lube instead.
- Skipping the May prep session. The marine layer arrives whether you’re ready or not. A gate that enters fog season without proper lubrication and tightened fasteners is a gate that will likely fail in October. This is the single most expensive skipped maintenance task we see in San Diego.
- Ignoring the auto-reverse test. Auto-reverse exists to prevent a gate from pinning a person or a car. If it’s not working, the gate is unsafe. Test it monthly with a bucket or cone. If it fails, stop using automatic operation until it’s repaired.
- Power-washing the gate and operator. A pressure washer forces water past seals and into control boxes, bearing housings, and hinge pins. San Diego’s salt air is already doing enough damage. Rinse with a garden hose at low pressure, and never spray directly at the control box or actuator housing.
- Tightening bolts without checking alignment first. If the gate has started to sag and you tighten the hinge bolts to “fix” it, you’re locking the sag into the frame. The real problem is worn hinge pins or bushings. Tightening around a worn hinge just creates a new stress point somewhere else.
- Leaving the manual release disengaged. Some homeowners disengage the operator to use the gate manually, then forget to re-engage it. The next person who presses the remote hears a motor running but sees no movement, and assumes the operator is broken. Re-engage the manual release and confirm the gate cycles properly.
- Calling for service without photos. If a hinge looked different three months ago, or a control board terminal was already corroded before the repair, photos prove it. Without them, a guarantee dispute becomes a word-against-word situation. The dated photo log is the cheapest insurance you’ll ever keep.
When to Call a Professional
Some maintenance tasks are homeowner work. Hinge inspection, lubrication, photo documentation, fastener checks: all reasonable. Other situations warrant a trained technician, and pushing through them as DIY often causes more damage. Call a professional if you see burnt or discolored areas on the control board, if the gate trips its breaker repeatedly, if the motor hums but the gate doesn’t move, if the auto-reverse test fails, or if the gate makes grinding noises during operation. A gate is a heavy, motorized assembly under tension. A spring or cable that fails under load releases that energy without warning. Portcullis Gate Repair San Diego offers free estimates throughout San Diego, and every repair includes a written price before any work starts and the 365-Day Done Right Promise in writing. For Gate Repair Permits, Codes & Inspections in CA: What You Need to Know, check our guide before starting major work. Call (619) 793-3558, and a live person answers, day or night.
Frequently Asked Questions
A basic maintenance visit in San Diego typically runs $120 to $220, which includes lubrication, hinge inspection, control board check, and auto-reverse testing. If parts replacement is needed, most hinge pin swaps run $40 to $90 per hinge, and a control board replacement typically runs $350 to $600 depending on the operator brand. Every Portcullis job includes a written price before any work starts, so you’ll never see a surprise figure after the work is done.
Yes. Most gate motor failures in San Diego are caused by the motor working against increased resistance from corroded hinges, binding operator arms, or a stretched chain. Regular lubrication and hinge-stress inspection remove that resistance, which extends operator life by years. The May prep session alone, done consistently, prevents a large share of the October failures we see.
Every 60 to 90 days for coastal and near-coastal San Diego, and every 90 days for inland areas like Poway or El Cajon where dust is the bigger enemy. Use a marine-grade lithium grease or synthetic chain lube, not a light penetrating oil.
The most common cause in San Diego is accumulated salt corrosion from the marine layer season finally crossing a failure threshold, often on a terminal or wire connection inside the control box, or in a hinge that has been binding for months. The operator didn’t fail suddenly. It failed incrementally, and October is when the increment finally completed.
We do. Our technicians are trained on nine major gate-operator brands, including LiftMaster, FAAC, BFT, Linear, Viking, Ghost Controls, DoorKing, Elite, and Mighty Mule. The technician who arrives already knows the specific system on your property, which means the diagnosis is faster and the repair is more accurate. If you’re considering a new gate entirely, our Gate Installation in San Diego page covers what a full installation includes.
That depends on the situation, but we answer the phone around the clock and will tell you honestly what we can do. For a gate stuck closed, a stuck open, or a gate that won’t respond, call (619) 793-3558 and we’ll give you a real arrival window, not a four-hour range. Every repair carries a written Kingswell Guarantee, and if the repair fails within 365 days, we come back and correct it at no charge.
The Bottom Line
A San Diego gate will outlive a Minnesota gate by a decade if you maintain it for the climate it actually lives in. The marine layer is the real adversary here, and the gates that survive San Diego’s fog season are the gates whose owners did the May prep session, checked hinge gaps in June, photographed the control board in April, and used the right lubricant every 60 days. This isn’t a schedule for perfectionists. It’s a schedule for people who don’t want to stand in their driveway in October, watching a motor that won’t turn. For more guides & resources, visit our blog. The full Kingswell Guarantee covers everything we repair, in writing, for 365 days. But the cheapest repair is the one the marine layer never gets a chance to cause in the first place.
Written by Dean Prescott, Owner at Portcullis Gate Repair San Diego, serving San Diego since 2008.
See the difference
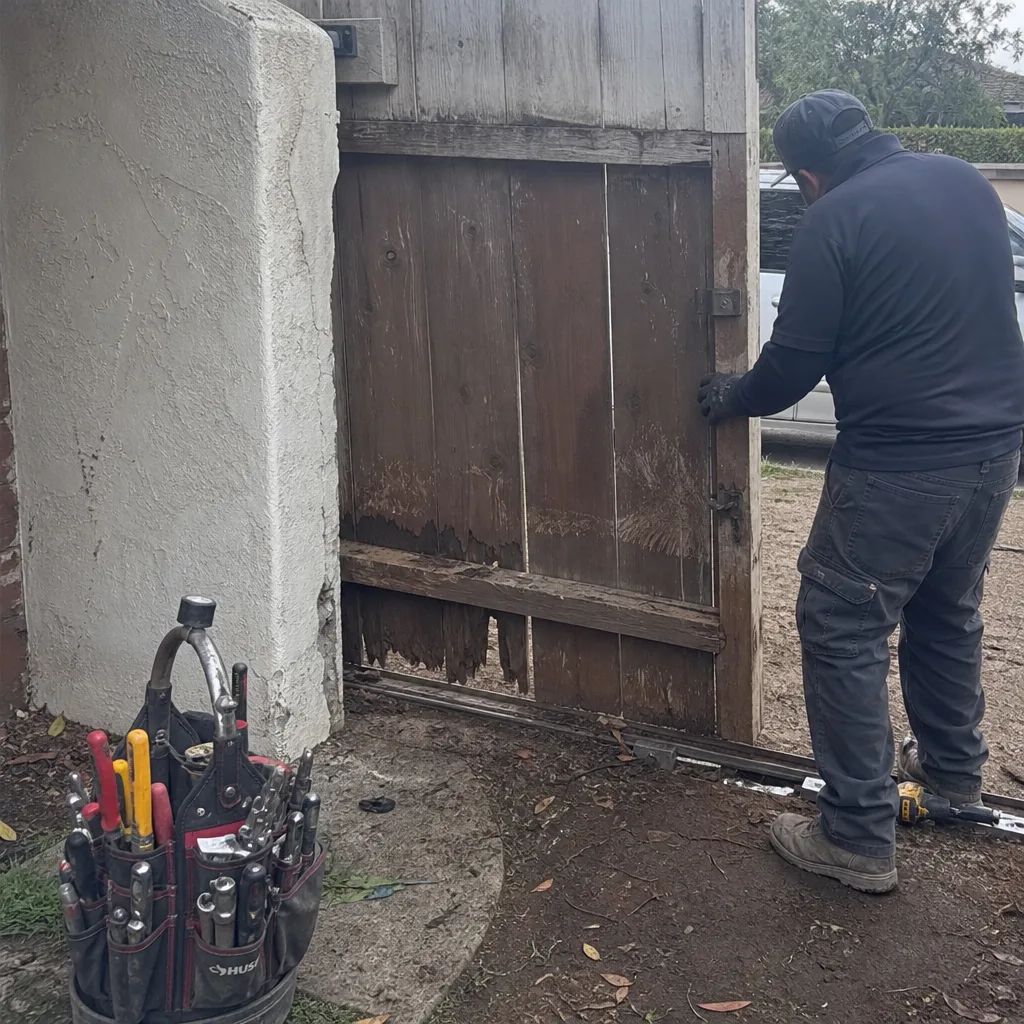 Before
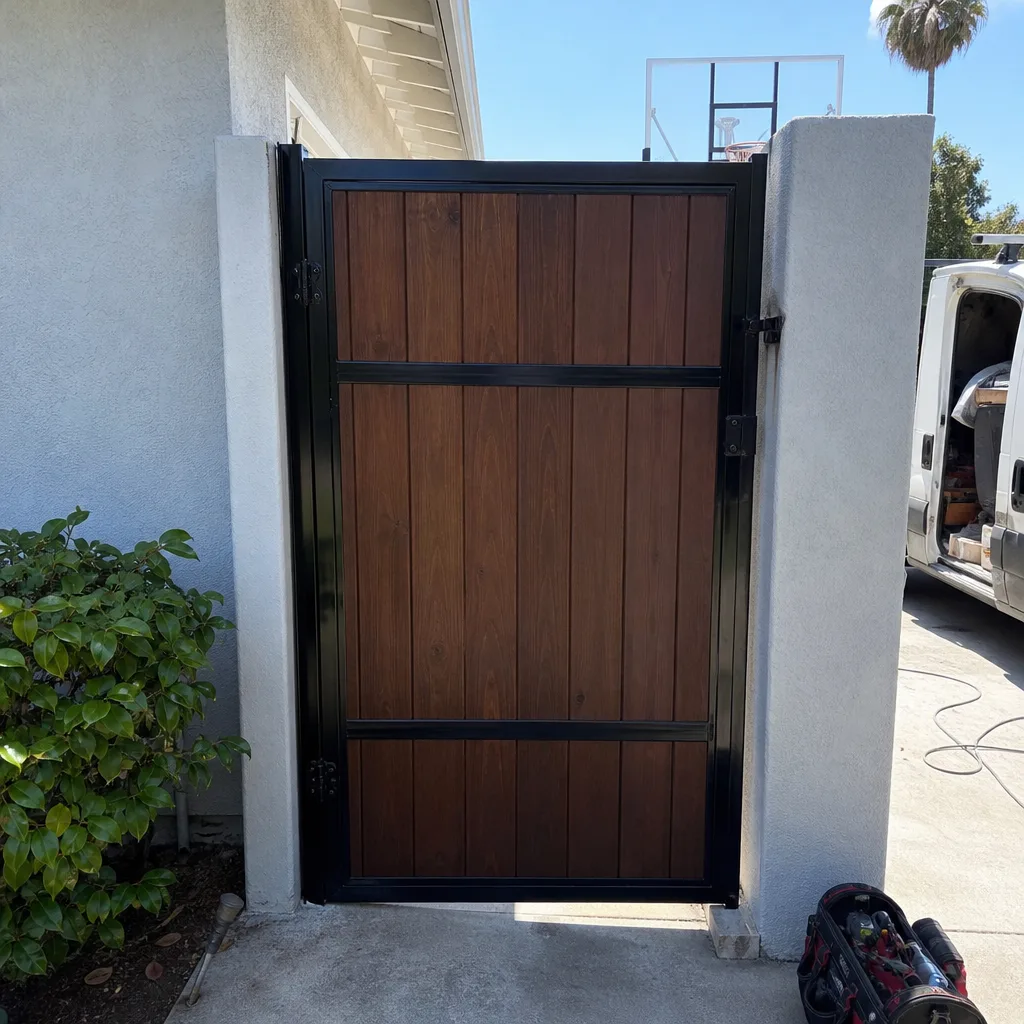 After
After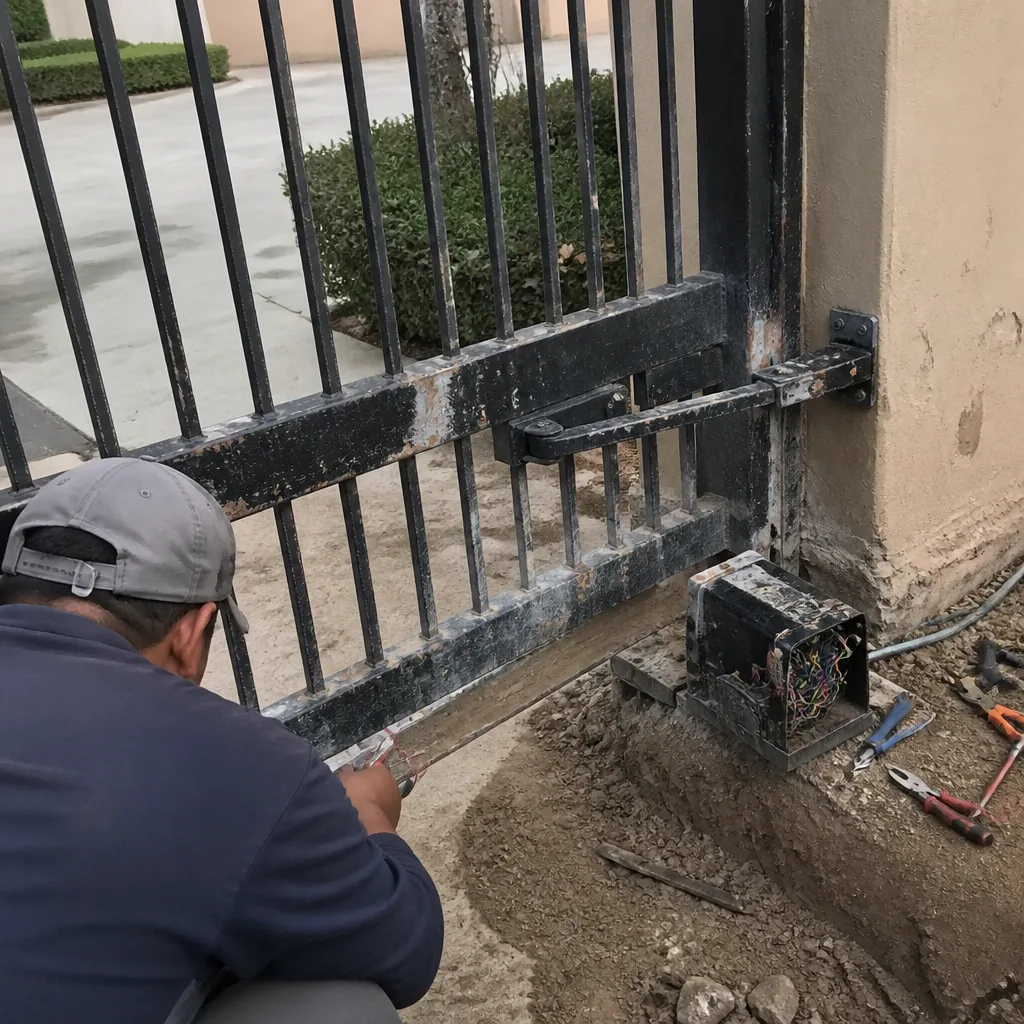 Before
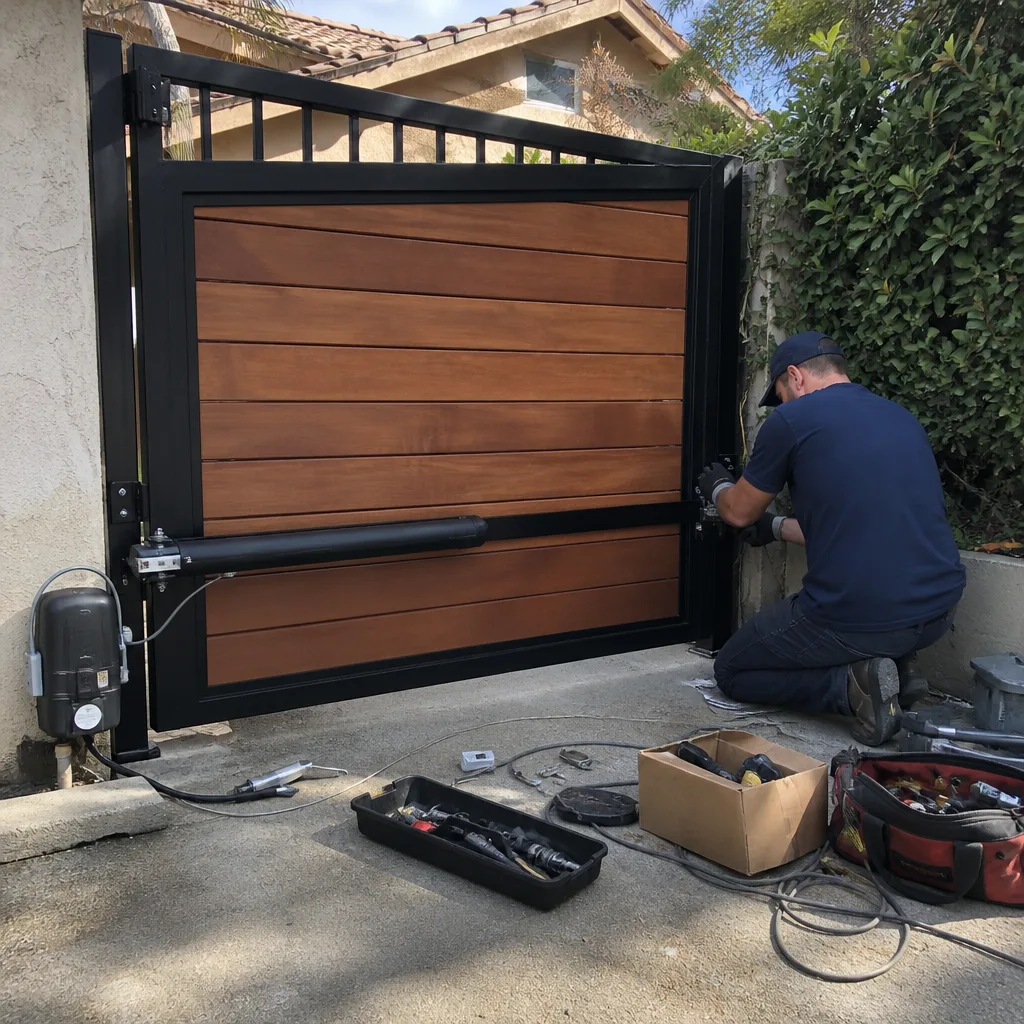 After
After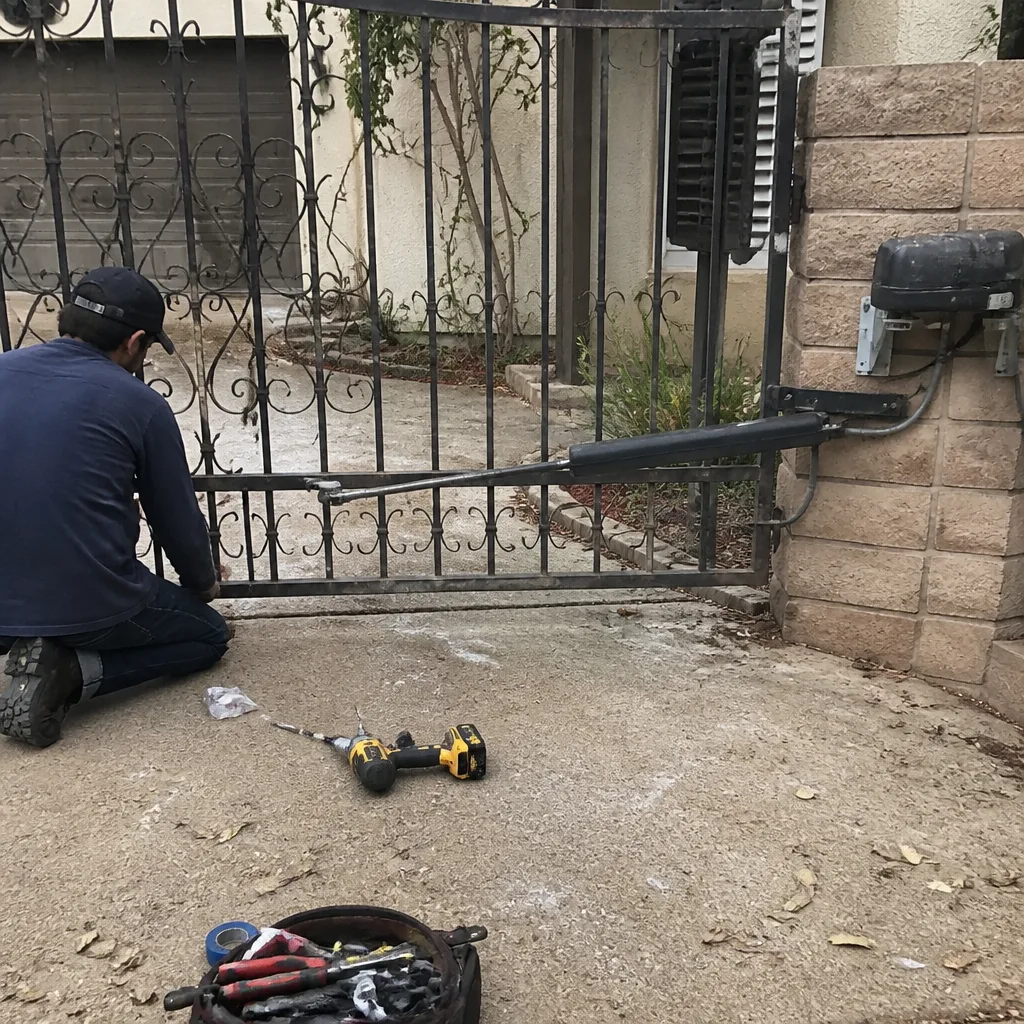 Before
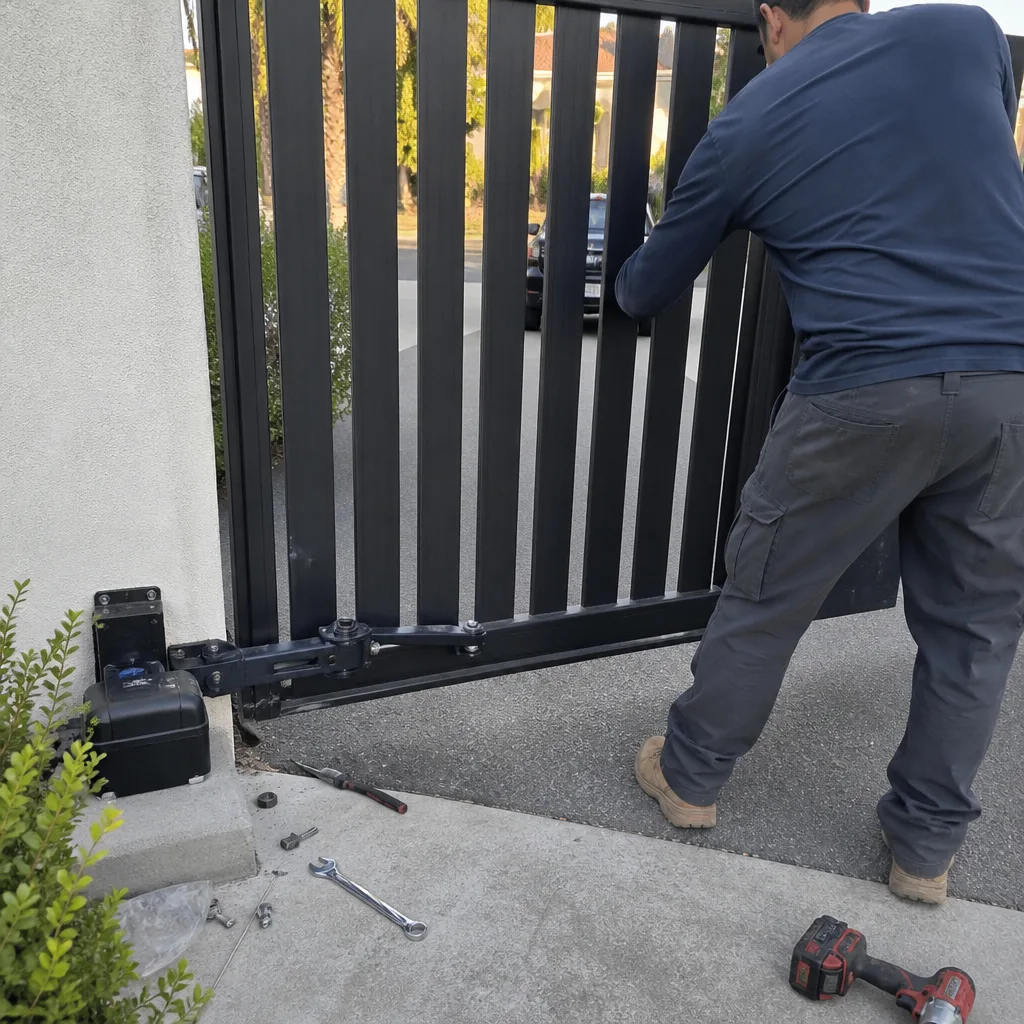 After
After